OCI2Git
[![]() ][documentation]
][documentation]


[//]: # (未來的 test.yaml 模擬) [//]: # ([](https://github.com/Virviil/oci2git/actions))
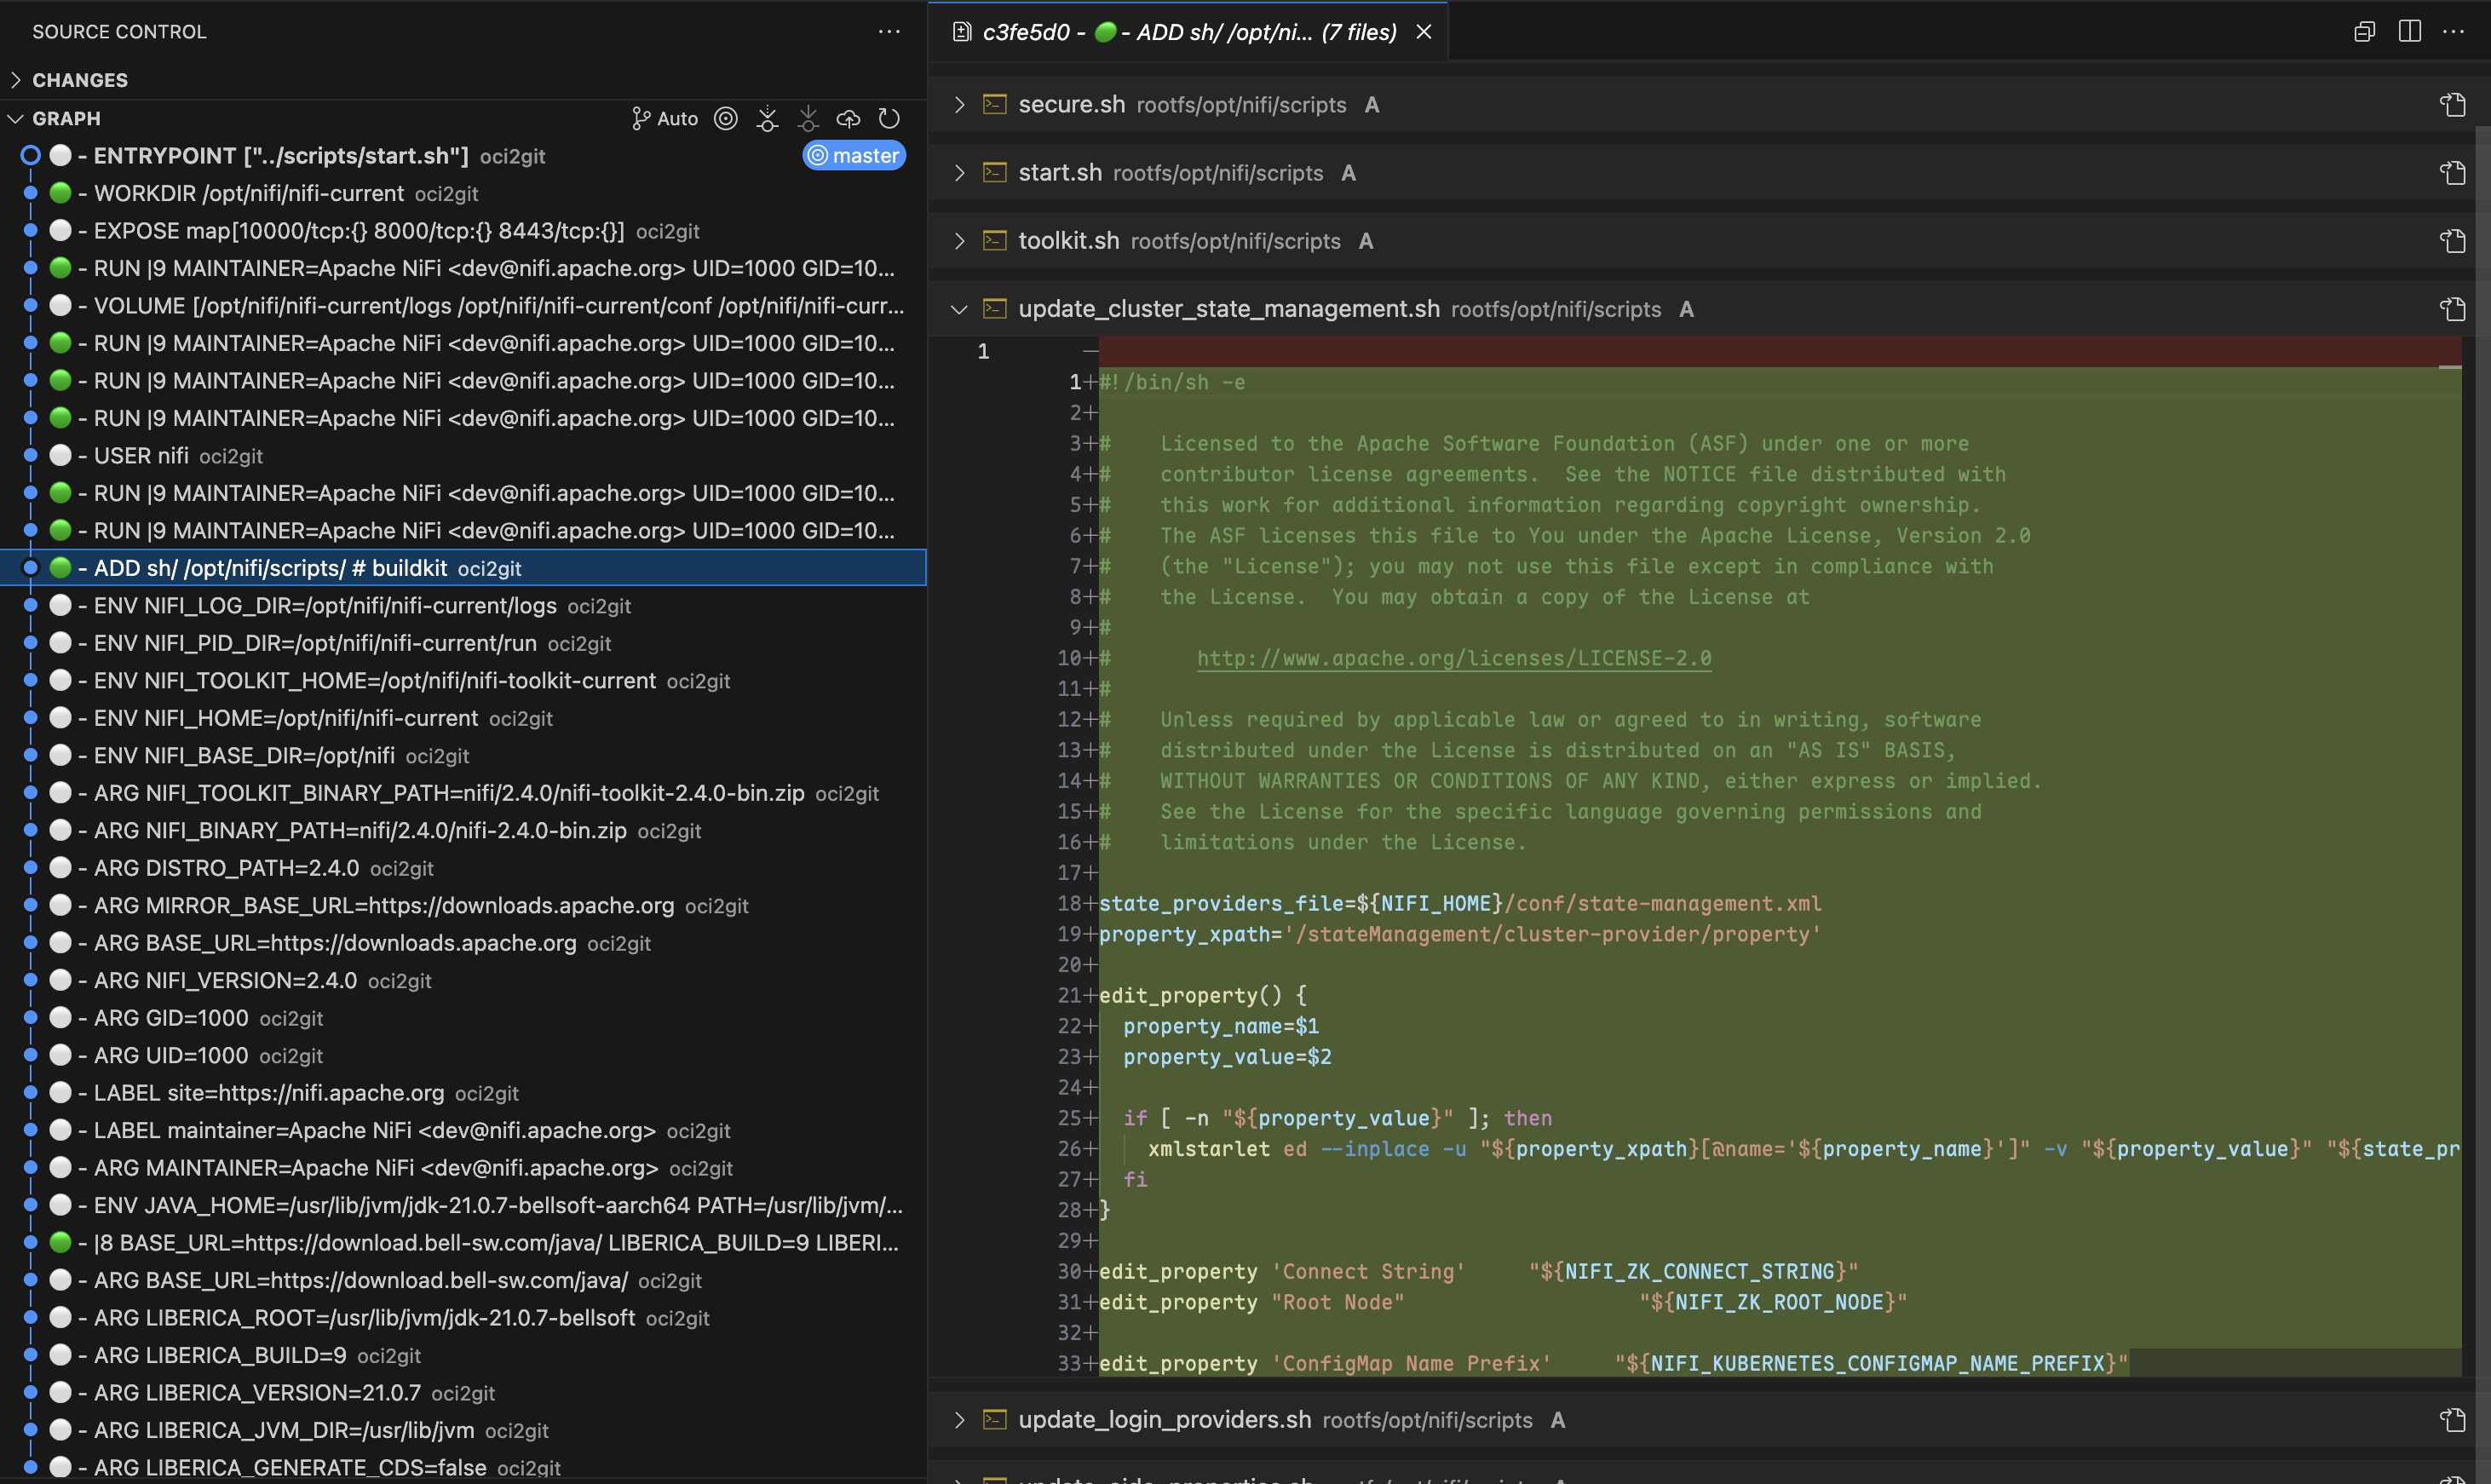
一個將容器映像檔(如 Docker 等)轉換為 Git 儲存庫並產生 YAML 格式檔案系統物料清單(fsbom)的 Rust 應用程式。每個容器層都被表示為一個 Git commit,完整保留原始映像檔的歷史與結構。

功能特色
- 分析 Docker 映像檔並提取層級資訊
- 建立每個映像層都對應為 commit 的 Git 儲存庫
- 產生每層檔案清單的 YAML 格式檔案系統物料清單(fsbom)
- 支援空層(如 ENV、WORKDIR 等)作為空 commit
- 完整提取中繼資料為 Markdown 格式
- 可擴充架構以支援不同的容器引擎
使用情境
層級差異比對
在排查容器問題時,可以使用 Git 強大的差異比對功能,精確找出任兩層間的變更內容。透過在 commit 之間執行git diff,工程師能清楚看到新增、修改或刪除的檔案,大幅提升理解每條 Dockerfile 指令影響及定位問題變更的效率。
來源追蹤
利用git blame,開發者能迅速確認某個檔案或程式行是由哪一層引入。這在診斷組態檔或相依套件問題時格外有價值。無須逐層人工檢查,就能直接追溯任何檔案的來源層級及對應的 Dockerfile 指令。檔案生命週期追蹤
OCI2Git 讓您可追蹤特定檔案於容器映像檔歷史的完整歷程。您可以觀察檔案何時被建立、在各層中如何修改,及其最終是否被移除。這種全貌協助理解檔案演進過程,無需手動比對多層變更。要追蹤容器映像檔中某個檔案的完整歷史——包括首次出現、變更及刪除時機——於轉換後可使用下列 Git 指令:
# Full history of a file (including renames)
git log --follow -- /rootfs/my/file/pathFirst appearance (i.e. creation) - see which layer introduced the file
git log --diff-filter=A -- /rootfs/my/file/pathAll changes made to the file (with diffs)
git log -p --follow -- /rootfs/my/file/pathWhen the file was deleted
git log --diff-filter=D -- /rootfs/my/file/pathShow short commit info (concise layer history)
git log --follow --oneline -- /rootfs/my/file/path多層分析
有時最具洞察力的比較來自於檢查多個非連續層級的變化。使用 OCI2Git,您可以利用 Git 的比較工具分析組件在多個建置階段中的演進,識別僅查看相鄰層級時可能看不見的模式。層級探索
透過使用git checkout 切換到任何特定的提交,您可以檢視容器檔案系統在該層級存在時的完整狀態。這讓開發人員能夠檢查影像創建過程中任意時點的檔案和目錄的精確狀態,為除錯或分析容器行為提供極具價值的背景資訊。
多影像分析
當處理多個具有共同祖先的容器影像時,OCI2Git 僅在影像實際分歧時才會智能地建立分支。這讓您能夠在單一儲存庫中分析多個相關影像,同時保留它們的共同歷史。
# Convert first image to create the base repository
oci2git postgres:16.9-alpine3.21 -o alpConvert second image to the same output folder
oci2git nginx:1.28.0-alpine-slim -o alp- 一個包含所有共用層的共同主幹
- 當映像檔實際不同時才會分歧的獨立分支
- 清楚可視化映像檔共享共同祖先與開始獨特之處
- 智慧重複處理:如果完全相同的映像檔被處理兩次,演算法會在最終中繼資料提交前偵測到,並跳過建立重複分支
- 映像家族分析:理解映像不同變體(不同版本、架構或組態)彼此之間的關聯
- 基礎映像影響:精確查看基礎映像的變更如何影響多個衍生映像
- 最佳化機會:辨識可在映像變體間更好利用的共用元件

其他使用案例
- 安全稽核:精確識別易受攻擊的套件或設定何時被引入,並追溯至特定建置指令。
- 映像最佳化:分析層結構,找出可合併的重複操作或大型檔案,協助減少映像大小。
- 相依管理:監控相依項在映像歷史中何時被新增、升級或移除。
- 建置流程改進:檢視層組成以最佳化 Dockerfile 指令,提升快取效率並縮小映像大小。
- 跨映像比較:將多個相關映像轉換為 Git 儲存庫,並利用 Git 的比較工具分析其差異與共通性。
安裝
套件管理員
#### macOS / Linux(Homebrew)
brew tap virviil/oci2git
brew install oci2git
#### Debian / Ubuntu
從最新發佈版下載並安裝 .deb 套件:
# For amd64 (x86_64)
wget https://github.com/virviil/oci2git/releases/latest/download/oci2git_VERSION_amd64.deb
sudo dpkg -i oci2git_VERSION_amd64.debFor arm64
wget https://github.com/virviil/oci2git/releases/latest/download/oci2git_VERSION_arm64.deb
sudo dpkg -i oci2git_VERSION_arm64.deb
#### Arch Linux(AUR)
# Using yay
yay -S oci2git-binUsing paru
paru -S oci2git-binManual installation
git clone https://aur.archlinux.org/oci2git-bin.git
cd oci2git-bin
makepkg -si
預先建置的二進位檔
從最新版本發佈頁面下載適合您平台的二進位檔:
# Linux x86_64
wget https://github.com/virviil/oci2git/releases/latest/download/oci2git-linux-x86_64.tar.gz
tar xzf oci2git-linux-x86_64.tar.gz
sudo mv oci2git-linux-x86_64 /usr/local/bin/oci2git
chmod +x /usr/local/bin/oci2gitmacOS (Apple Silicon)
wget https://github.com/virviil/oci2git/releases/latest/download/oci2git-darwin-aarch64.tar.gz
tar xzf oci2git-darwin-aarch64.tar.gz
sudo mv oci2git-darwin-aarch64 /usr/local/bin/oci2git
chmod +x /usr/local/bin/oci2git
從 Crates.io
cargo install oci2git從來源
# Clone the repository
git clone https://github.com/virviil/oci2git.git
cd oci2gitInstall locally
cargo install --path .
使用方法
oci2git [OPTIONS]
oci2git convert [OPTIONS]
oci2git fsbom [OPTIONS]
convert — OCI 映像 → Git 存儲庫
oci2git convert [OPTIONS]
or simply:
oci2git
選項:
-o, --output Git 儲存庫的輸出目錄 [預設值:./container_repo]
-e, --engine 要使用的容器引擎(docker、nerdctl、tar)[預設值:docker]
-v, --verbose 詳細模式(-v 為資訊,-vv 為偵錯,-vvv 為追蹤)
fsbom — 檔案系統物料清單
oci2git fsbom [OPTIONS] -o, --output 輸出 YAML BOM 檔案的路徑 [預設值:./fsbom.yml]
-e, --engine 要使用的容器引擎(docker、nerdctl、tar)[預設值:docker]
-v, --verbose 詳細模式(-v 為 info,-vv 為 debug,-vvv 為 trace)環境變數:
TMPDIR 設定此環境變數以更改用於中間資料處理的預設位置。此設定依平台而異(例如,Unix/macOS 上為 TMPDIR,Windows 上為 TEMP 或 TMP)。
範例
轉換
使用 Docker 引擎(預設):
oci2git ubuntu:latest
or explicitly:
oci2git convert ubuntu:latest -o ./ubuntu-repo
使用已下載的映像檔 tarball:
oci2git convert -e tar -o ./ubuntu-repo /path/to/ubuntu-latest.tardocker save 建立的:# Create a tarball from a local Docker image
docker save -o ubuntu-latest.tar ubuntu:latestConvert the tarball to a Git repository
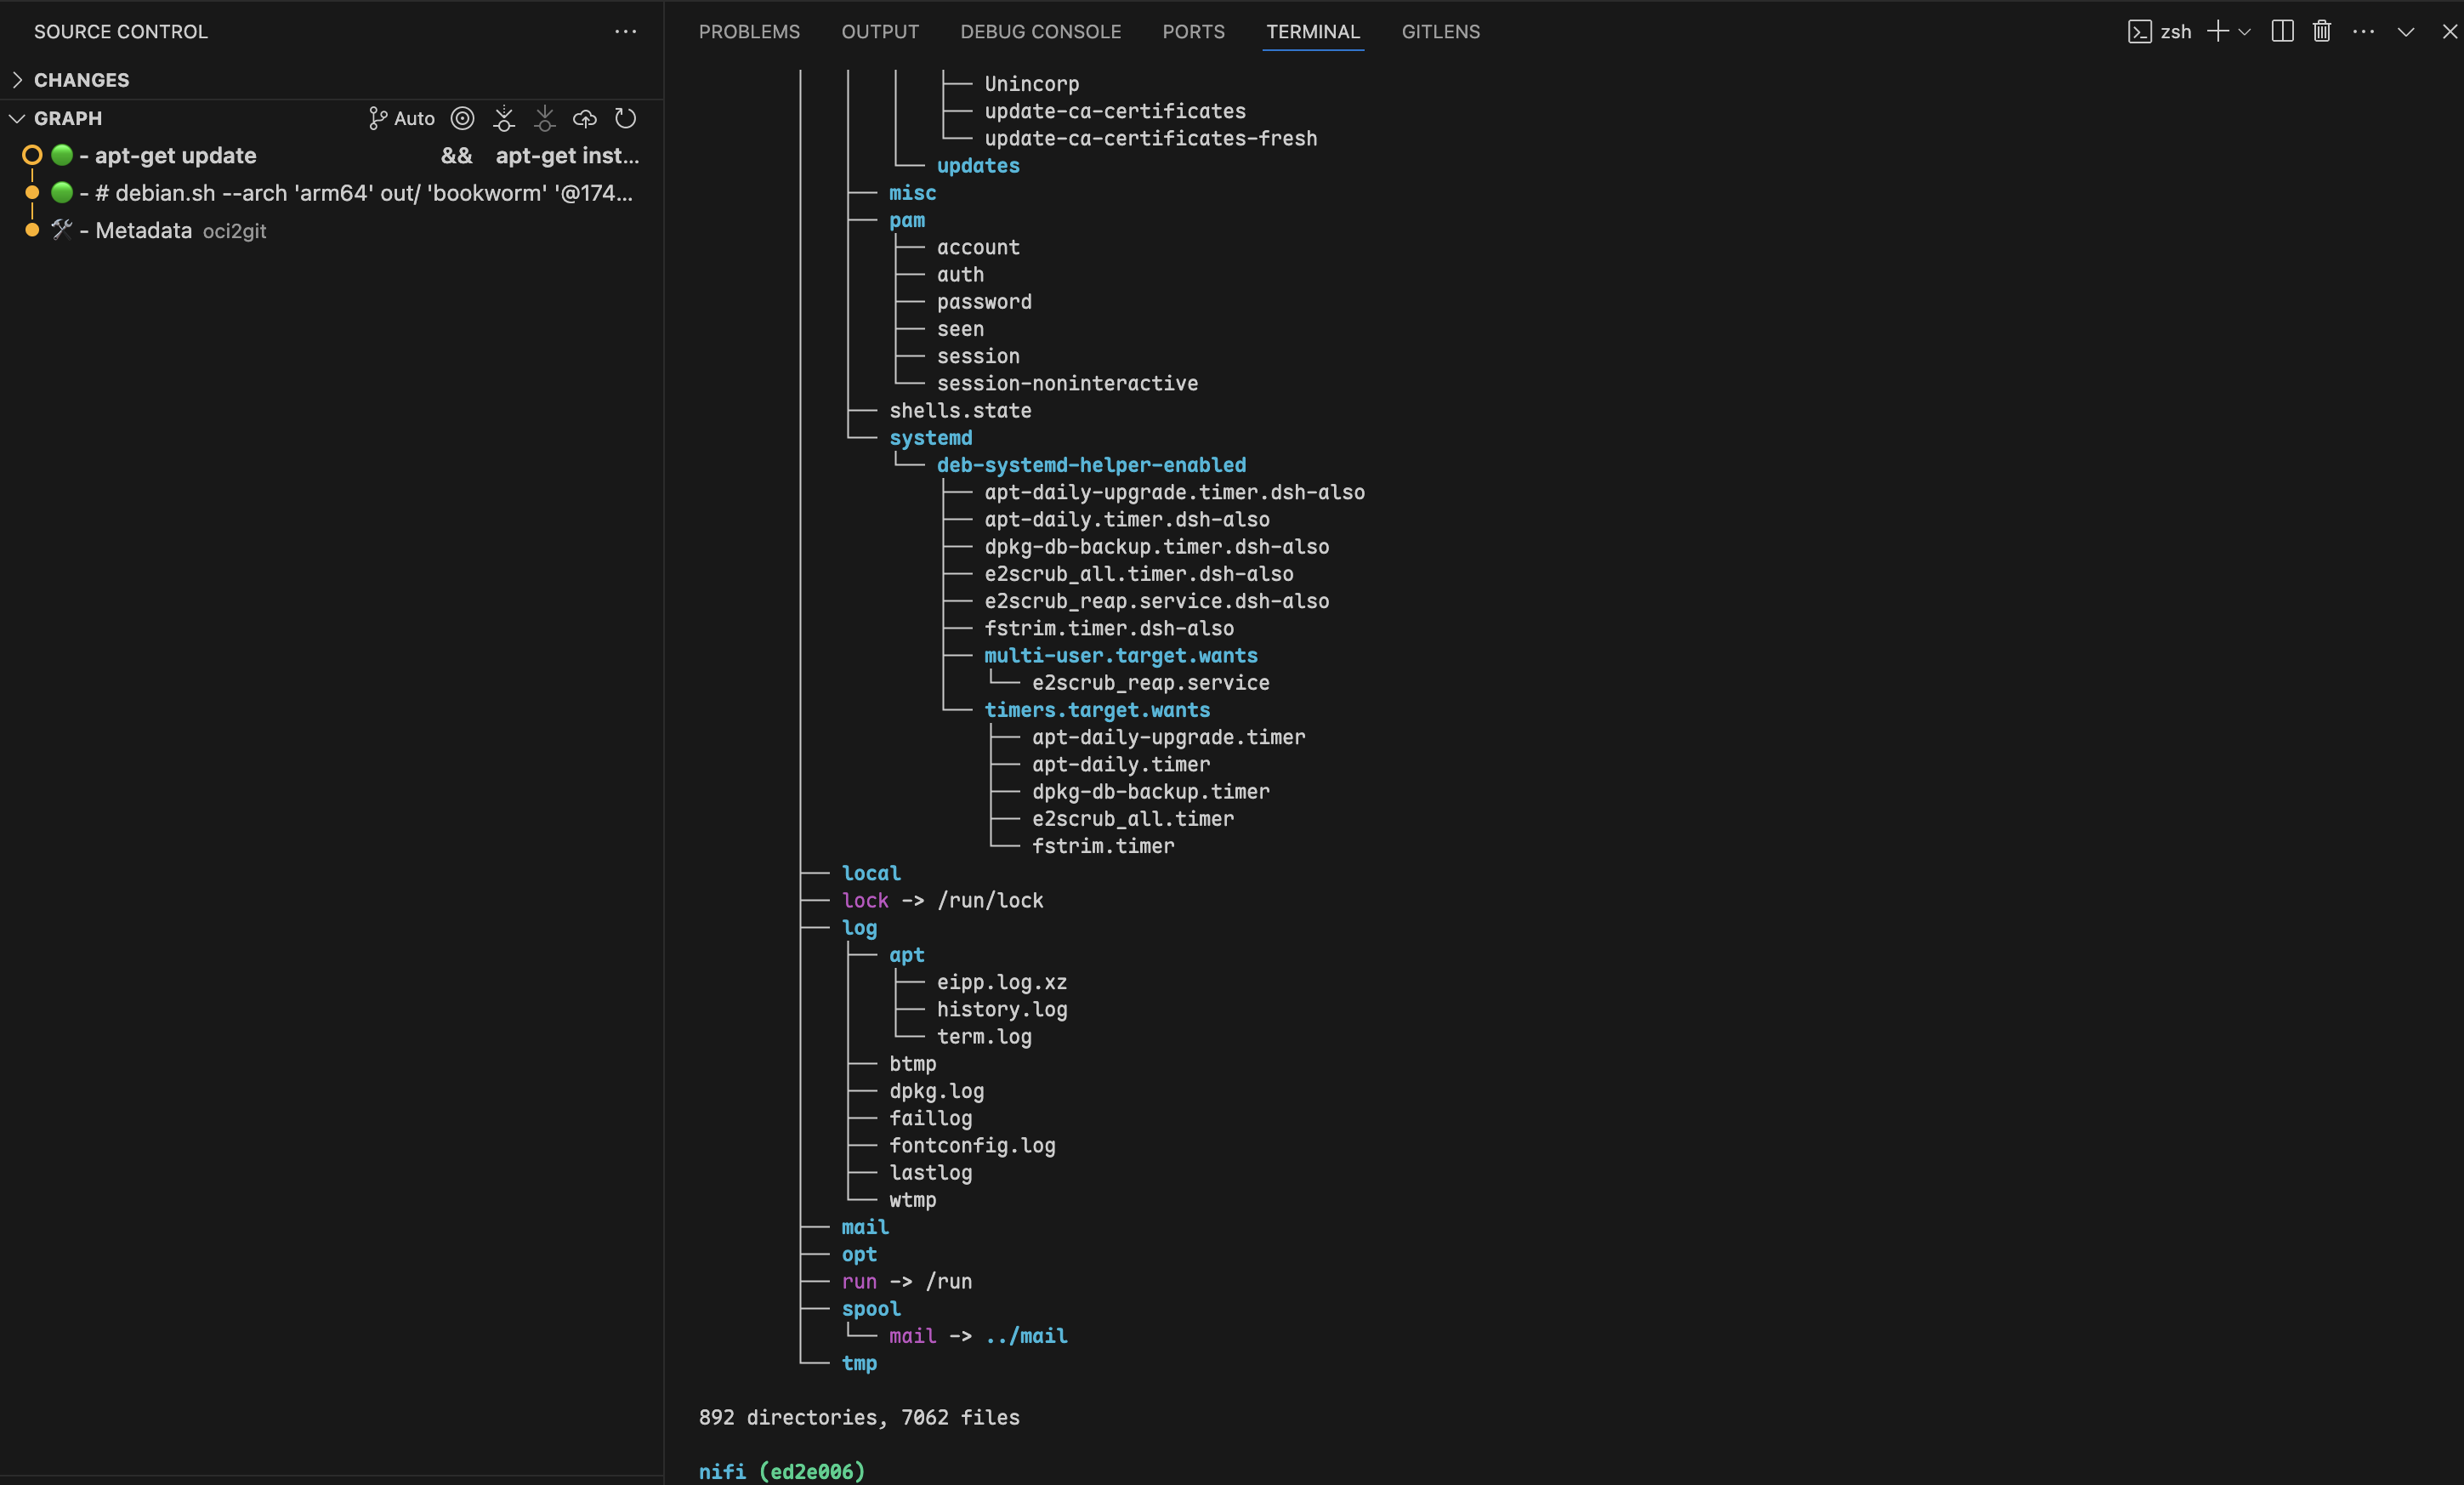
oci2git convert -e tar -o ./ubuntu-repo ubuntu-latest.tar這將在 ./ubuntu-repo 中建立一個 Git 儲存庫,內容包括:
Image.md- 以 Markdown 格式完整記錄影像的中繼資料rootfs/- 來自容器的檔案系統內容
- 第一個提交僅包含帶有完整中繼資料的
Image.md檔案 - 每個後續提交都代表原始影像中的一個層級
- 提交訊息包含 Dockerfile 的命令
檔案系統物料清單(fsbom)
產生每個層級所引入或修改的所有檔案的 YAML 清單:
oci2git fsbom ubuntu:latest -o ubuntu.ymloci2git fsbom -e tar image.tar -o image-bom.yml輸出的 YAML 會列出每個層級,並將其條目按類型(file、hardlink、symlink、directory)和狀態(新項目為 n:uid:gid,修改項目為 m:uid:gid)標記。已刪除的檔案(OCI whiteouts)則不包含在內。
layers:
- index: 0
command: "ADD rootfs.tar.gz / # buildkit"
digest: "sha256:45f3ea58..."
entries:
- type: file
path: "bin/busybox"
size: 919304
mode: 493
stat: "n:0:0"
- type: hardlink
path: "bin/sh"
target: "bin/busybox"
stat: "n:0:0"
- type: symlink
path: "lib64"
target: "lib"
stat: "n:0:0"
- index: 1
command: "RUN apk add --no-cache curl"
digest: "sha256:..."
entries:
- type: file
path: "usr/bin/curl"
size: 204800
mode: 493
stat: "n:0:0"
- type: file
path: "etc/apk/world"
size: 32
mode: 420
stat: "m:0:0"資料庫結構
repository/
├── .git/
├── Image.md     # Complete image metadata
└── rootfs/      # Filesystem content from the container
系統需求
- Rust 2021 版本
- Docker CLI(用於支援 Docker 引擎)
- Git
授權條款
MIT
[文件]: https://docs.rs/oci2git/
--- Tranlated By Open Ai Tx | Last indexed: 2026-04-02 ---